
Clip Studio Paint Brush Tips

I use Clip Studio Paint EX for all of my comic work. I know how to do most things in this program, but not everything, since a lot of its functions aren’t necessary for my everyday use. I’ve always figured that if I needed to do a specific thing, I could just look it up and find someone that made a tutorial about it.
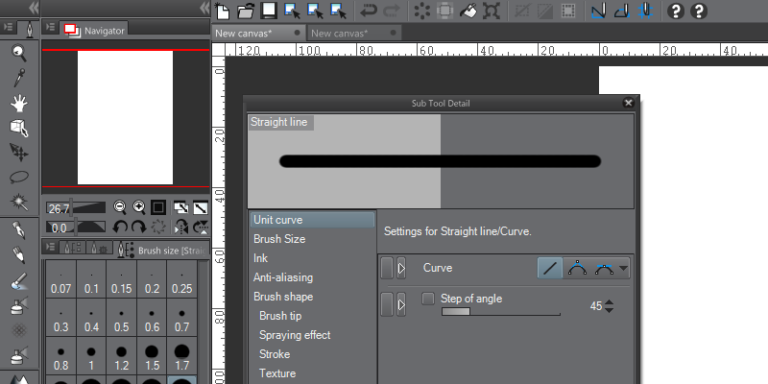
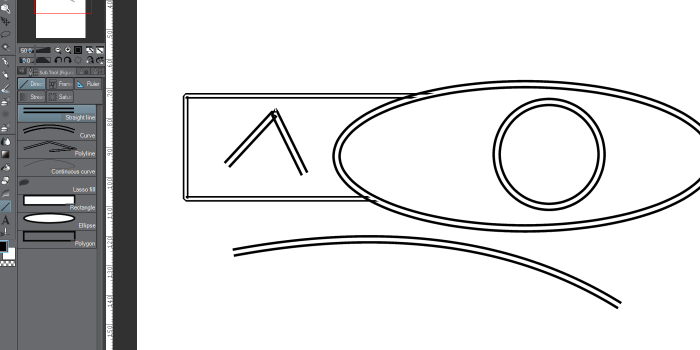
There came a day when I decided that I wanted to make a specific border type; specifically, a double-line border. I found plenty of brush tutorials, but none that I found mentioned how to get a shape into this menu:
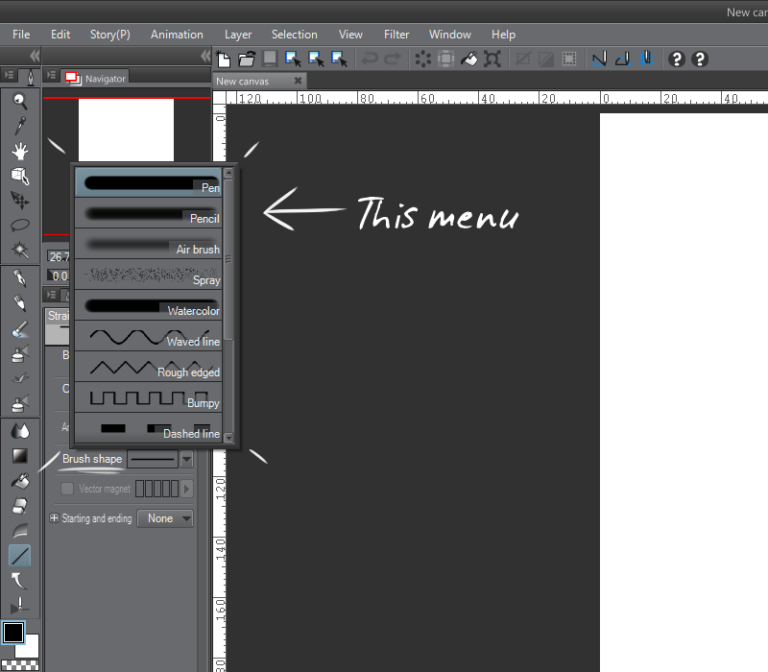
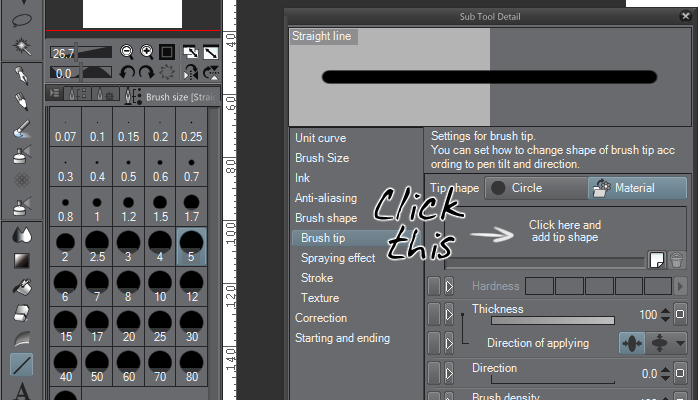
And I really don’t want to have to open up the materials window every time I want a fancy frame. Since I couldn’t find a guide, I had to figure out how to do it myself, and figured I’d make a tutorial afterwards to hopefully save someone else the trouble.
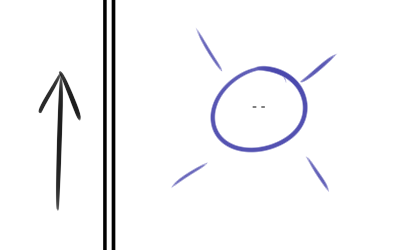
Of course, you have to start with designing the brush, and it seems like the brush design has to go vertically. In my case, I just drew two lines and then took a tiny snippet from them to use as the actual brush shape.
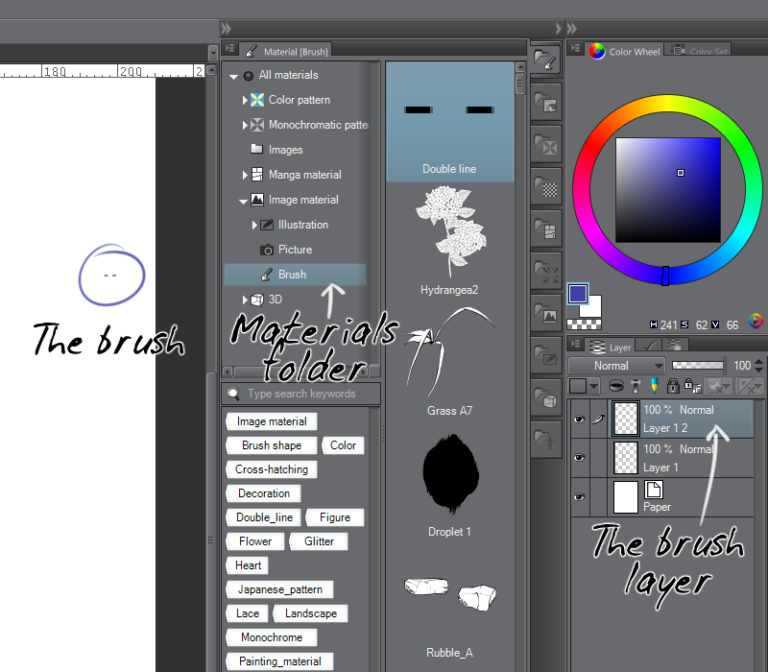
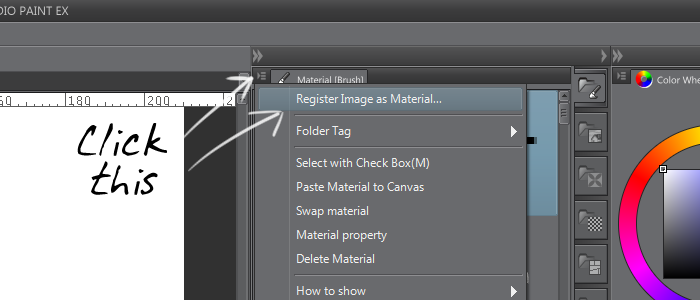
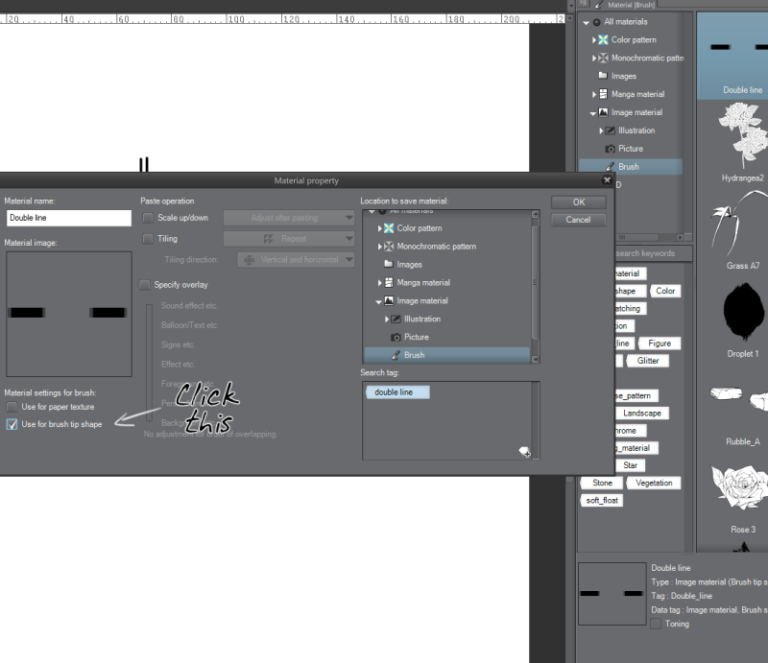
Once you have the design, register it as a material. Make sure the design is on its own layer, and that you have the appropriate materials folder open. Select the layer with the brush tip, and open the materials registration window. You can see in the picture that I’ve already registered the double line, but I did it again to demonstrate the process just in case.
If you already had the appropriate materials folder selected before registering your brush, the “Location to save material” box should already have the right folder selected. After that, you just need to name your material and give it the appropriate tags, if you use them. Note that some tags may be filled in for you based on what’s in the folder you’ve chosen. Then, under the “Material image” box, select “Use for brush tip shape”.
After this is where it may start to get a little tricky, depending on what you want your brush to do. The easiest way to make a custom brush, that I’ve found, is to duplicate an existing brush that’s fairly similar to the one you want and toy with its settings, including the brush tip. Some tips may behave strangely depending on the tool you start from. For example, my double-line tip was downright weird when I tried to use it with a standard pen tool. When I tried using it with one of the crosshatching brushes, it was just fine.
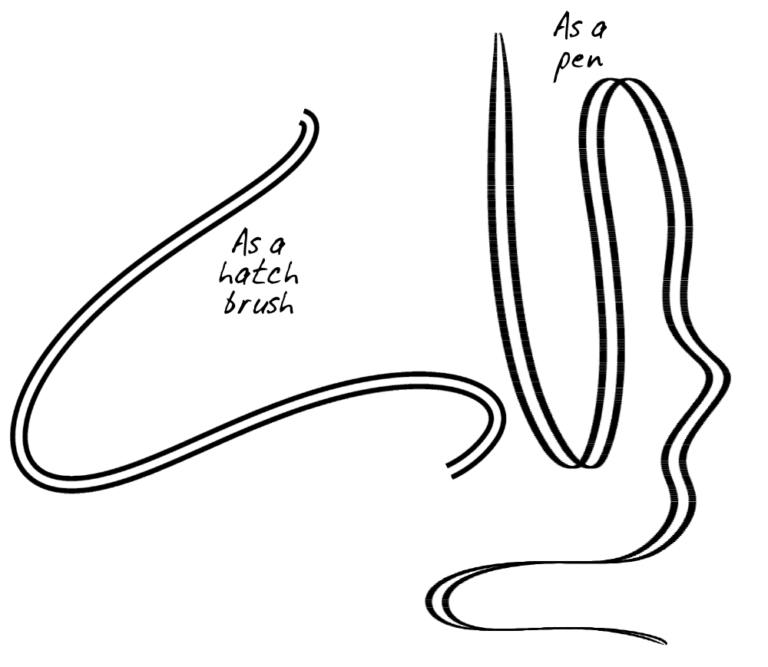
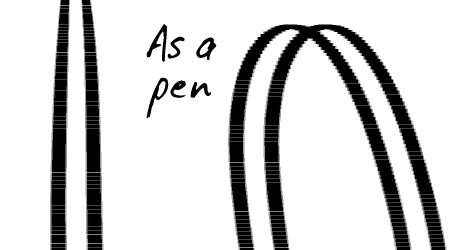
There are little gaps all throughout the pen version’s line and I don’t really know why. I imagine it has something to do with how the different tools behave. All I can say is, you’ll have to experiment to see what happens.
I didn’t actually intend for this double line to be a brush, but rather a line style for drawing lines or shapes. In order to do that, you need to open up the “Sub Tool Detail” window.
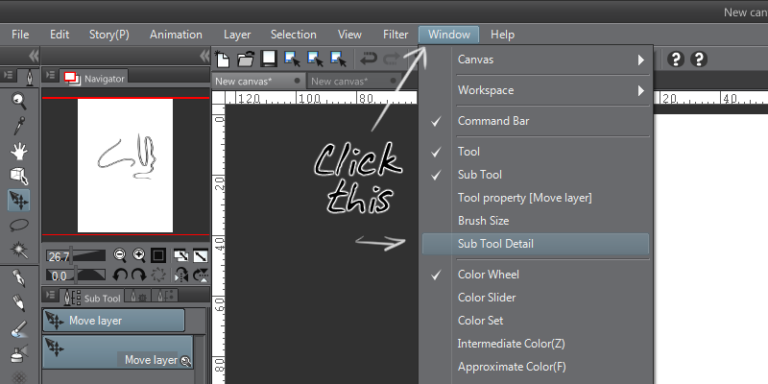
This window will allow you to edit your various tools’ settings in greater detail. Note: some features may not be available depending on which version of CSP you have, or which tool you’re trying to edit.
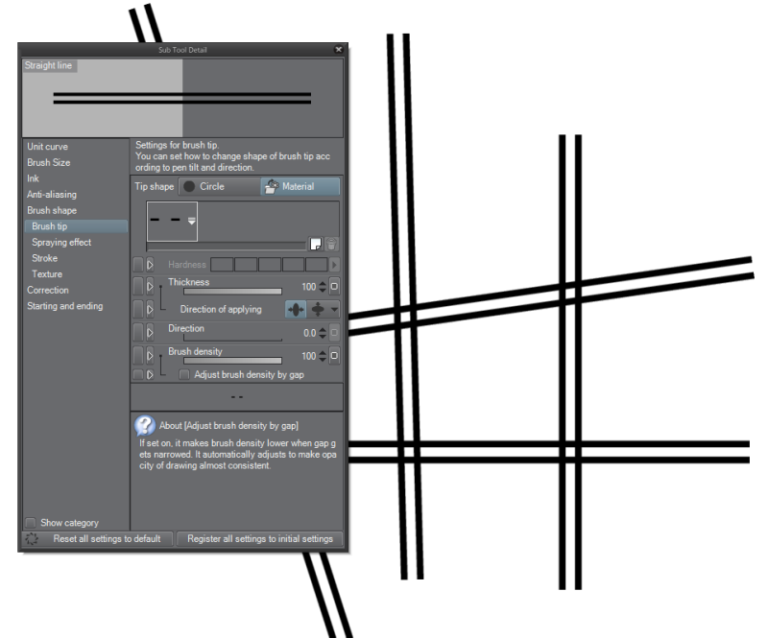
I decided to start by altering my line tool. Selecting the line tool opens its settings in the Sub Tool Detail window, so I chose “Brush tip”. In that window, I can change the Tip Shape to anything I have in registered as Material. This is where it’s helpful to have good tags for your materials, else you’ll have to do a lot of scrolling. Make sure to test and tweak any settings that you see fit.

In my case, I didn’t need to tweak anything. All that’s left is to put my new double-line brush into...
That is actually a pretty easy thing to do. Just open up the Brush Shape menu (right above Brush Tip) and you’ll see a button that says “Register to preset”. Click the “Register” button and your tool will be added to the preset menu. You can also remove or rename any presets from the window.

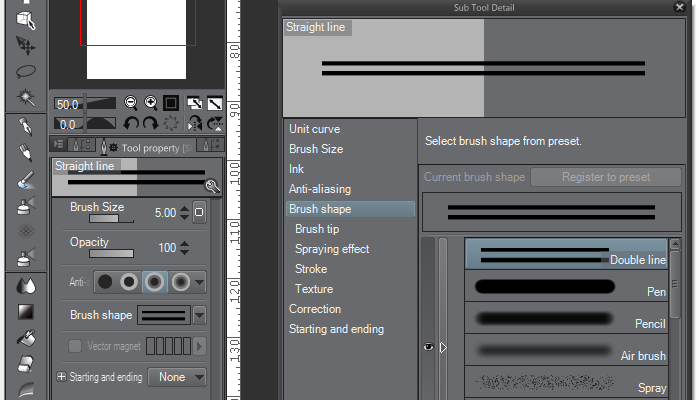
Once your brush tip is a preset, you can easily use it for any tool that has that preset menu, without having to dive into the Sub Tool Detail window.
Have fun!